Food Crops Background
How to Prepare a Taste Test at Home With Kids
Explore new varieties of nourishing foods with your family.
NEW Food Education in the Classroom Microcredential for K-5 educators. Starts July 13!
Explore new varieties of nourishing foods with your family.

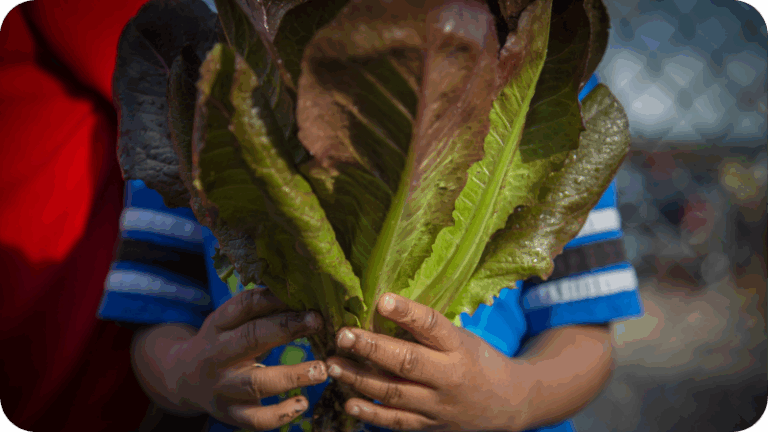
What is a taste test? FoodCorps uses taste tests in schools to introduce kids to new foods, or new preparations of foods they already know.
Taste tests at home can be a fun, hands-on way to get your kids involved in household food prep, introduce them to new flavors, and help them learn what tastes and textures most appeal to them.
If you’re looking to add more dishes into your family meal rotation, consider “hosting” a taste test with your kids to get their input. After all, they won’t know whether they love a food until they try it!
We encourage kids to try new foods through two different kinds of taste tests:
First, decide which of these approaches you’ll take. A classic taste test can be a hands-on way to introduce a new food—and it involves less prep and cleanup!
A Tasty Challenge, on the other hand, gives a kid the chance to experience multiple tastings at once. This can increase their preference for the food and also shows them how food tastes different based on its preparation.
Behavioral science research has found that when expressing a preference for one item over another (“I like this one best!”)—rather than just stating whether they liked one item—people are more likely to enjoy that item overall.
Based on this info, choose the format that will work best for your family.
When choosing recipes for your taste test, think about your desired yield (how much food the recipe will make), cooking techniques you’re already comfortable with, and preparations that use ingredients you already have around the house or have regular access to.
You might also consider including a “bridge food,” or a preparation that adds a familiar element to a new dish to help move your child from a known food to a new one (for example: cheesy broccoli as a way of introducing broccoli).
Some questions to ask yourself as you choose recipes:
For easy, kid-friendly starter recipes, try our recommended fall recipes for cooking with kids.
How should you choose what foods to taste test? Knowing your child’s preferences, restrictions, and willingness to try new things, try these ideas:
Remember to always follow food safety guidelines and, if cooking with kids, choose age-appropriate ways for them to help in the kitchen.
After everyone has tasted your dish or dishes, start a conversation using any of these questions:
It’s important to note that just trying a new food is a big accomplishment! High fives and verbal praise for trying something new and being adventurous can go a long way.
Got your taste test down? Try these ideas to make home taste tests even more exciting:
This guide was adapted from FoodCorps’ Taste Test Guide for AmeriCorps members. For sample recipes to taste test, check out FoodCorps’ Recipe Book in English or Spanish—remember to modify the yield for your family size!

Spotlight: Kindred Fellows

When President Obama Calls Your Name: Meet Hannah Moore, FoodCorps Member
Honoring Juneteenth Through Food, Joy, and Reflection